Alright folks, let me tell you about my latest obsession: crafting a wanamaker trophy replica. I know, I know, sounds crazy, but hear me out. It all started when I was watching the PGA Championship and got totally hooked on the history and the sheer beauty of that trophy.
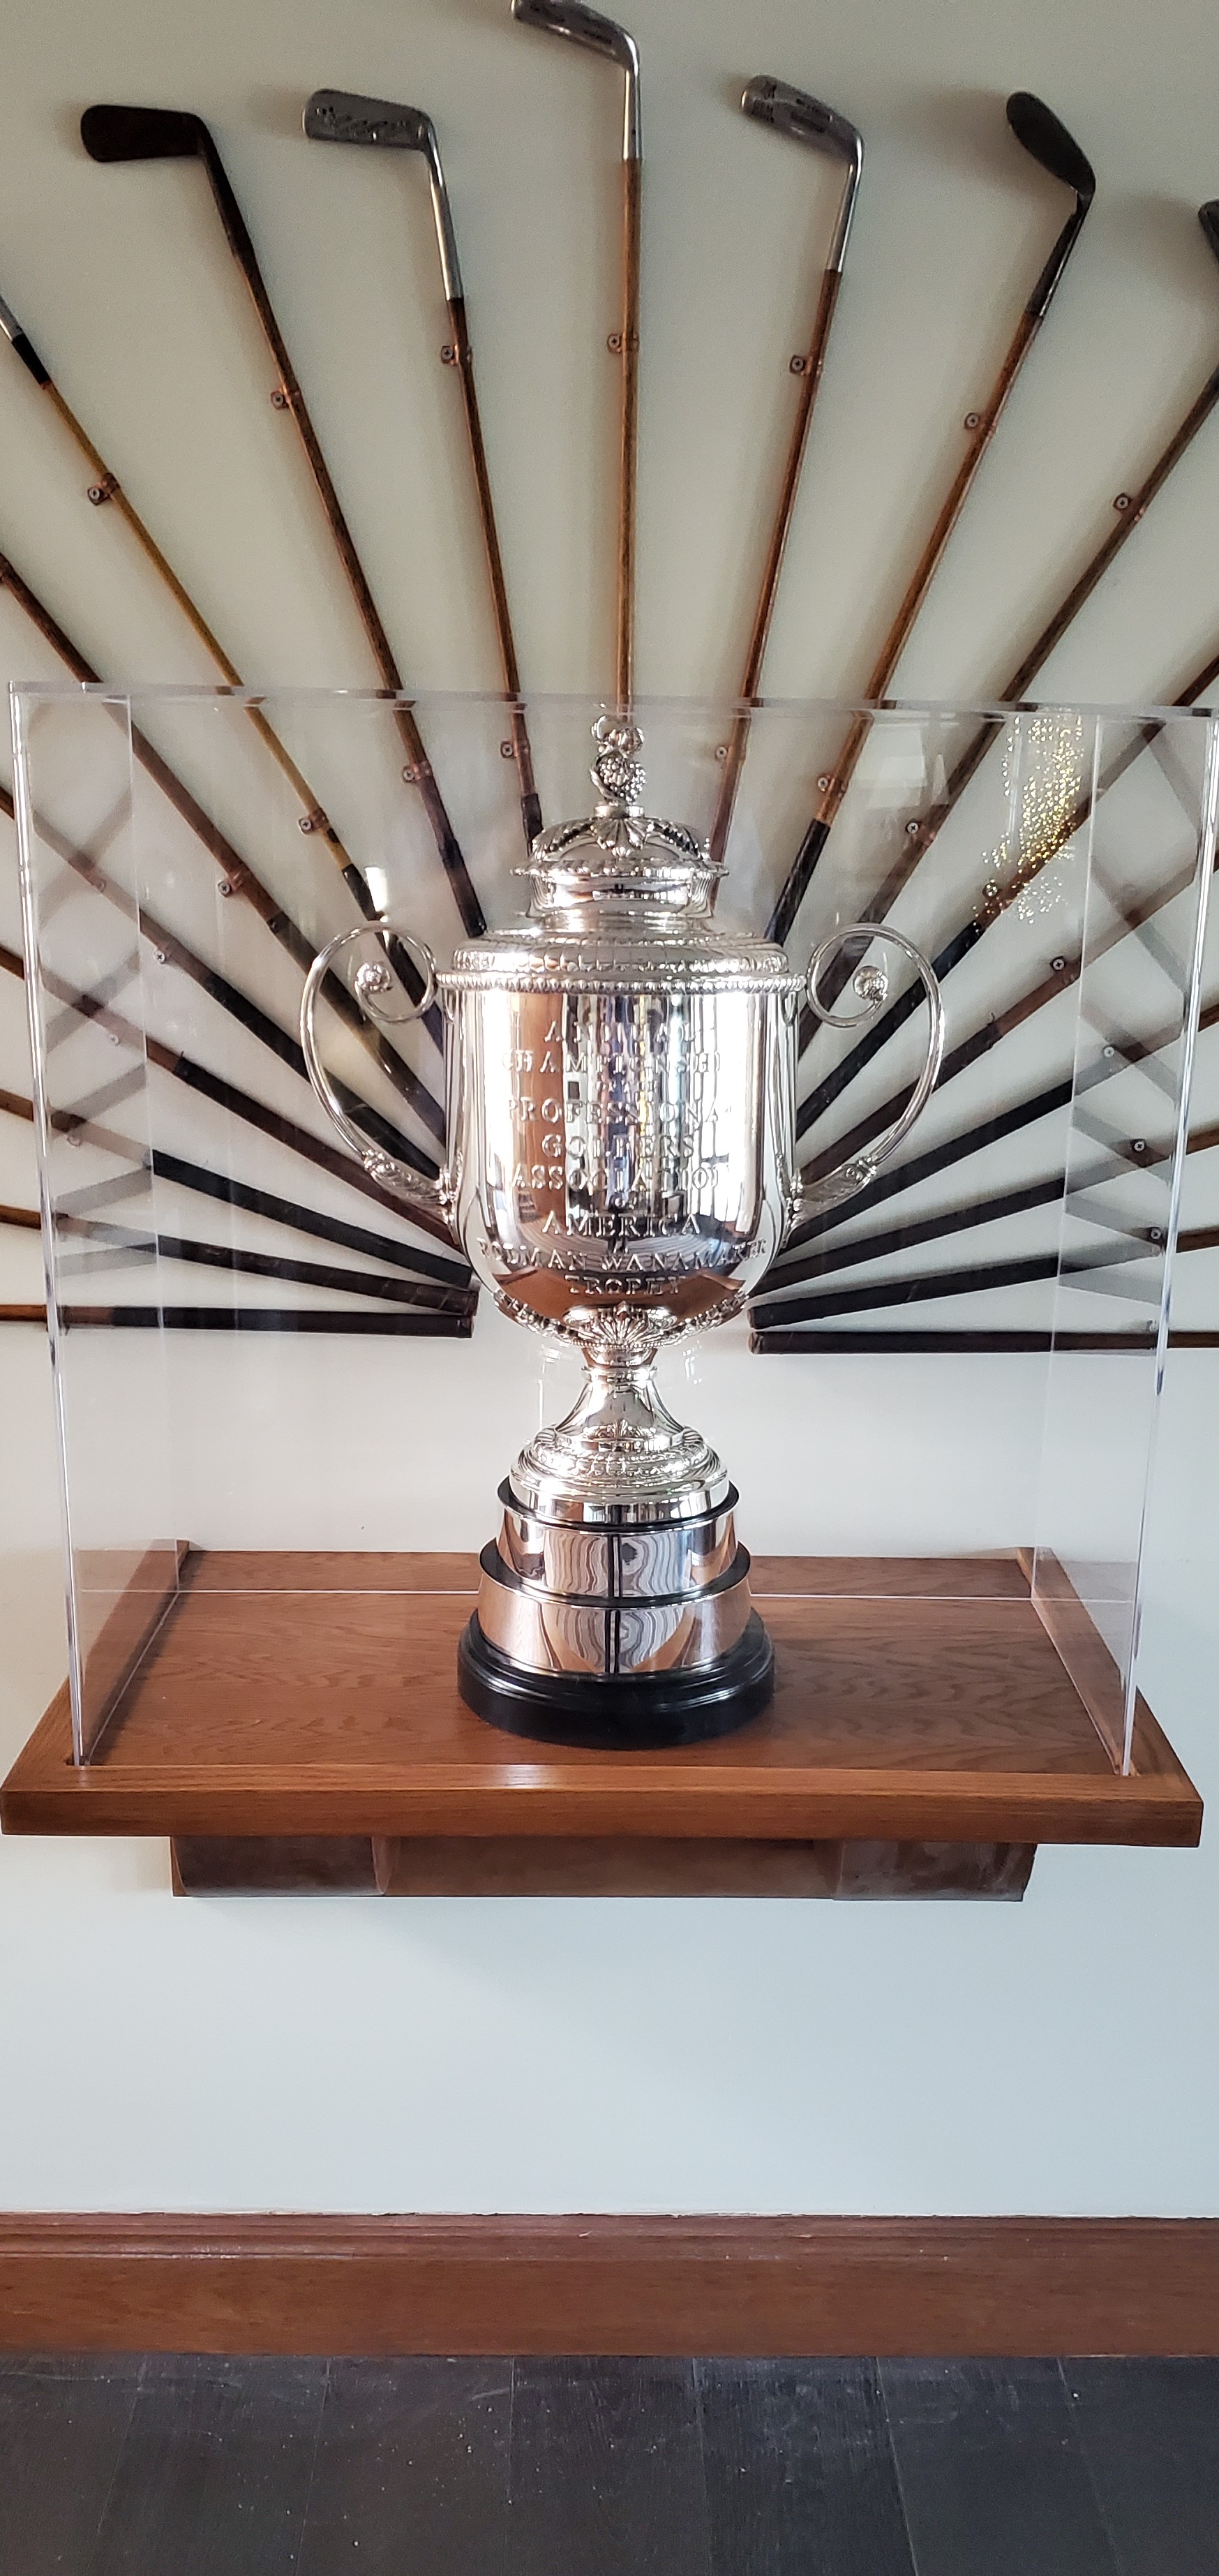
So, naturally, I started Googling. Found a bunch of pictures, a few dimensions here and there, but nothing really concrete. That’s when I decided, “Heck, I’m gonna wing it!”
The Planning Phase (aka, Staring at Pictures a Lot):
- First, I spent a solid week just studying the darn thing. Different angles, close-ups, trying to get a feel for the overall shape and details.
- Then, I sketched out a rough design on a piece of scrap paper. Nothing fancy, just enough to give me a roadmap.
Gathering the Goods:
I knew I couldn’t afford real silver (duh!), so I opted for a few cheaper options:
- I picked up some large sheet metal from the local hardware store. It was cheap, and easy enough to work with.
- Next, I needed something to hold all the names. Some wooden plaques did the trick.
- Silver spray paint! Lots and lots of silver spray paint. This was going to be key to achieving that shiny, impressive look.
Getting My Hands Dirty (The Fun Part!):
This is where things got interesting, and a little messy.
- Cutting and Shaping: Using a jigsaw, I carefully cut out the basic shapes of the trophy from the sheet metal. This took forever, and my arms were aching by the end of it.
- Bending and Forming: With some pliers and a whole lot of elbow grease, I started bending the metal into the curved shape of the trophy. This was definitely the trickiest part. I used a rubber mallet for the wider curves, being super careful not to dent the metal.
- Welding (Kind Of): I don’t own a welding machine, so I turned to trusty epoxy glue. Not quite the same, but it held things together pretty well! I used clamps to keep everything in place while the glue dried.
Making it Shine (The Glamour Shots):
- Sanding: Once the glue was dry, I spent hours sanding down all the rough edges and imperfections. The smoother the surface, the better the paint would look.
- Priming: A good coat of primer is essential. It helps the silver paint adhere and gives a more even finish.
- Painting: Finally, the moment of truth! I applied several thin coats of silver spray paint, letting each coat dry completely before adding the next. Patience is key here.
The Details (Making it Authentic-ish):
- The Wooden Plaque: After getting my hands on the names, I was able to carve them into the wooden plaques. Then I added them around the bowl of the trophy.
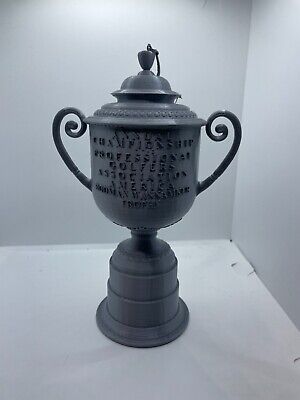
The Final Result:
Okay, so it’s not a perfect replica. But honestly, I’m pretty darn proud of how it turned out. It’s a great conversation piece, and a fun reminder of all the hard work (and silver paint fumes) that went into making it.