Alright, let me tell you about my little DIY tennis court project with a backboard. It was a journey, let me tell ya!
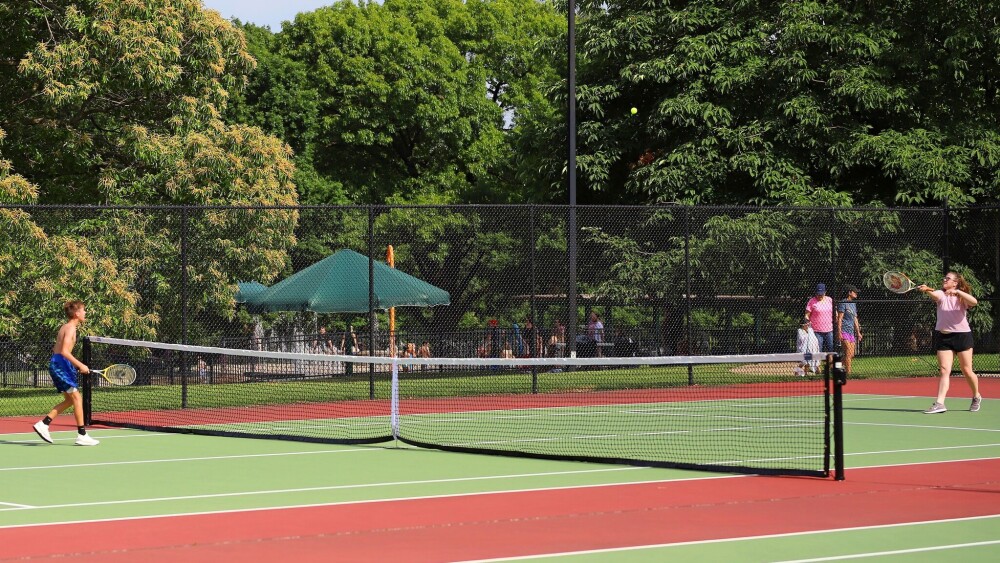
It all started ’cause I was sick of waiting for a court at the local park. Always crowded, always some dude hogging the court for hours. I thought, “Screw it, I’ll build my own!”
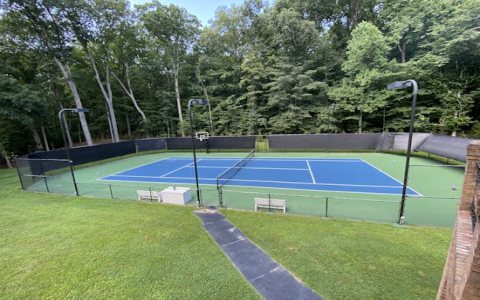
First thing’s first: location. I had this kinda neglected patch of concrete in my backyard – used to be a patio or somethin’. It wasn’t huge, but big enough for a practice court, I figured. So, I grabbed my measuring tape and started marking things out.
Then came the surface. I did some research online and decided to go with a hard court surface. Seemed durable and relatively easy to maintain. I looked at different options, like acrylic coatings, and eventually settled on a multi-layer acrylic system from a local sports court supplier. Figured it would give me a good bounce and hold up to the weather.
Next, I prepped the concrete. This was a pain. Power washing, patching cracks, the whole shebang. Needed a smooth, clean surface for the acrylic to bond properly. I rented a concrete grinder from Home Depot to really smooth things out. That thing was LOUD!
After the prep work, I started applying the acrylic layers. First, a base coat for adhesion. Then, a few color coats – went with a classic green and blue combo. Finally, a topcoat for durability and UV protection. Each layer needed to dry completely before the next, so it took a few days. The weather was my biggest enemy; couldn’t do anything if it rained.
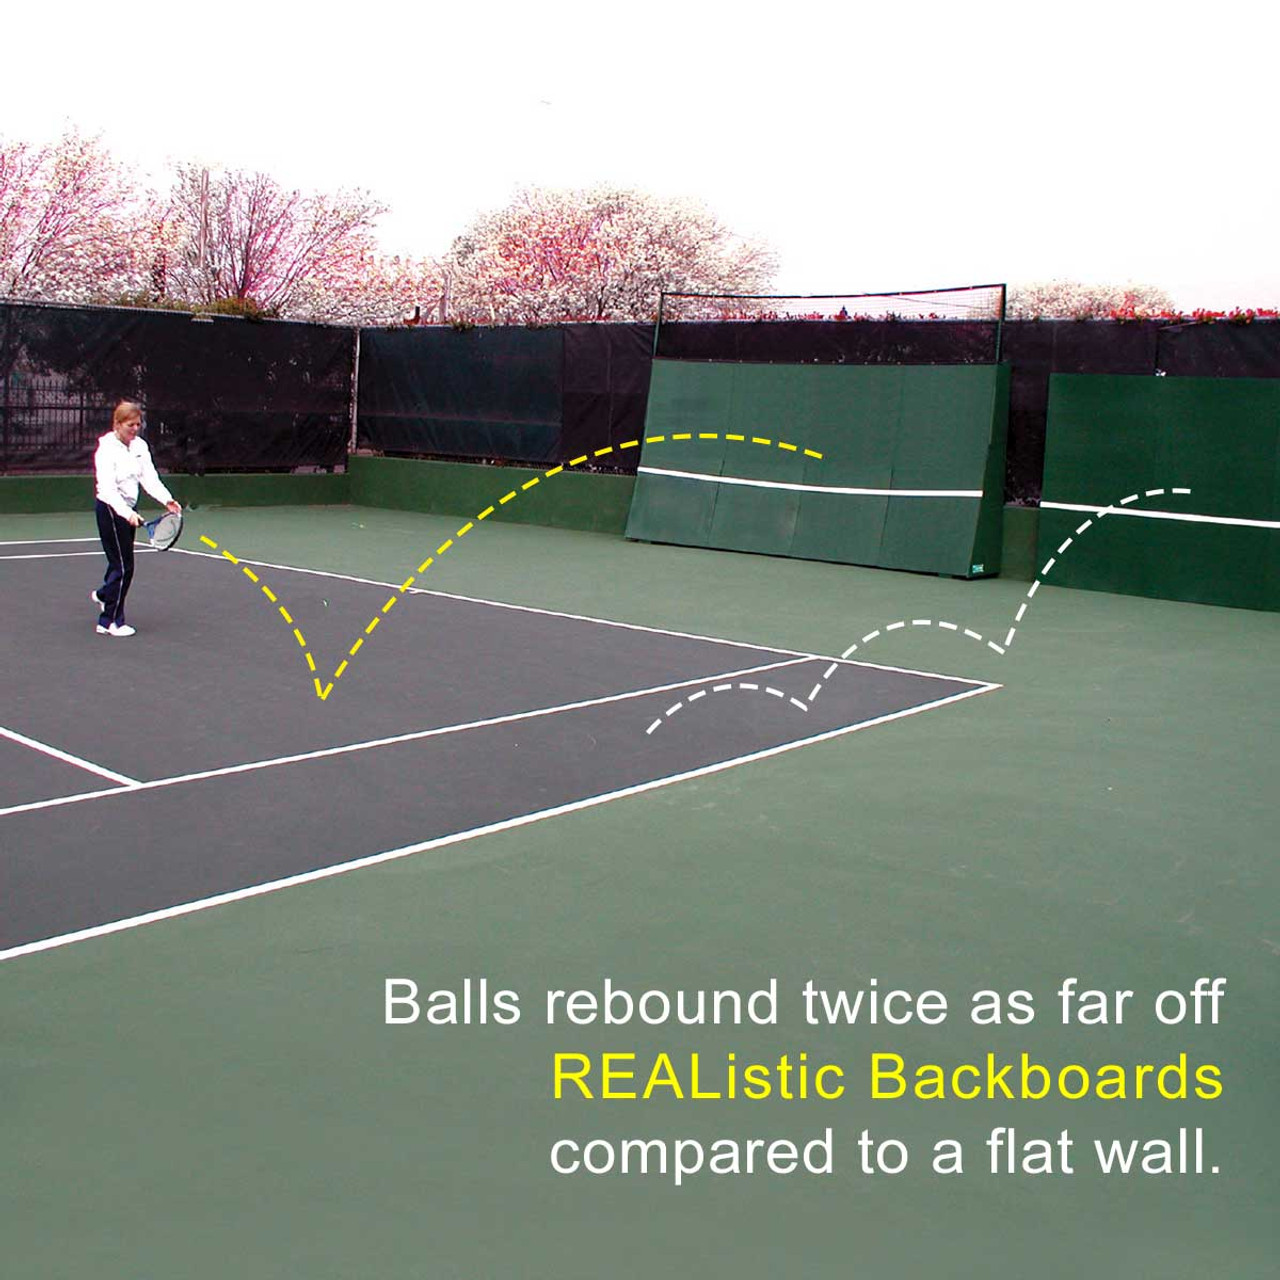
Now for the backboard. I decided to build it myself to save some cash. I bought a bunch of pressure-treated lumber and some plywood. I built a simple frame and attached the plywood to it. Then, I slapped on a coat of exterior paint to protect it from the elements. It wasn’t pretty, but it was solid.
Installing the backboard was tricky. I had to dig holes for the posts and anchor them in concrete. Made sure it was level and sturdy. Didn’t want that thing falling over in the middle of a practice session.
Finally, I added the net. Bought a standard tennis net and installed the posts. Adjusted the tension until it was just right.
And that was it! My own little tennis court with a backboard. It’s not Wimbledon, but it’s perfect for practicing my strokes and getting some exercise. I still need to add some lines, but that’s for another weekend. It took longer than I thought, and cost more than I planned, but totally worth it. Now I can play whenever I want, without having to fight for a court. Plus, I can blast my music as loud as I want!
- Concrete preparation: power washing, grinding, patching.
- Acrylic court surface application: base coat, color coats, topcoat.
- Backboard construction: lumber frame, plywood surface, exterior paint.
- Net installation: posts and net tension adjustment.
Would I do it again? Probably. It was a good learning experience, and now I have a tennis court in my backyard. Not bad, right?


