Alright, so I’ve been messing around with helmets lately, specifically trying to get that Liberty look on a QB helmet. It’s not as straightforward as you might think! Here’s how the whole thing went down.
First, I grabbed an old helmet I had lying around. Didn’t matter the brand, just needed something to work with. I figured I’d start with the basics – getting the right color.
Painting the base
- I cleaned the helmet thoroughly. Soap, water, the whole nine yards. You gotta get all the dirt and grime off, or the paint won’t stick right.
- Then, I taped off the areas I didn’t want painted, like the inside padding and the facemask mounts. Used some painter’s tape, nothing fancy.
- I bought a regular white spray. Next, I sprayed the helmet. A couple of thin coats, letting it dry in between. I learned the hard way that thick coats will drip and look awful. Patience is key here.
Adding the details
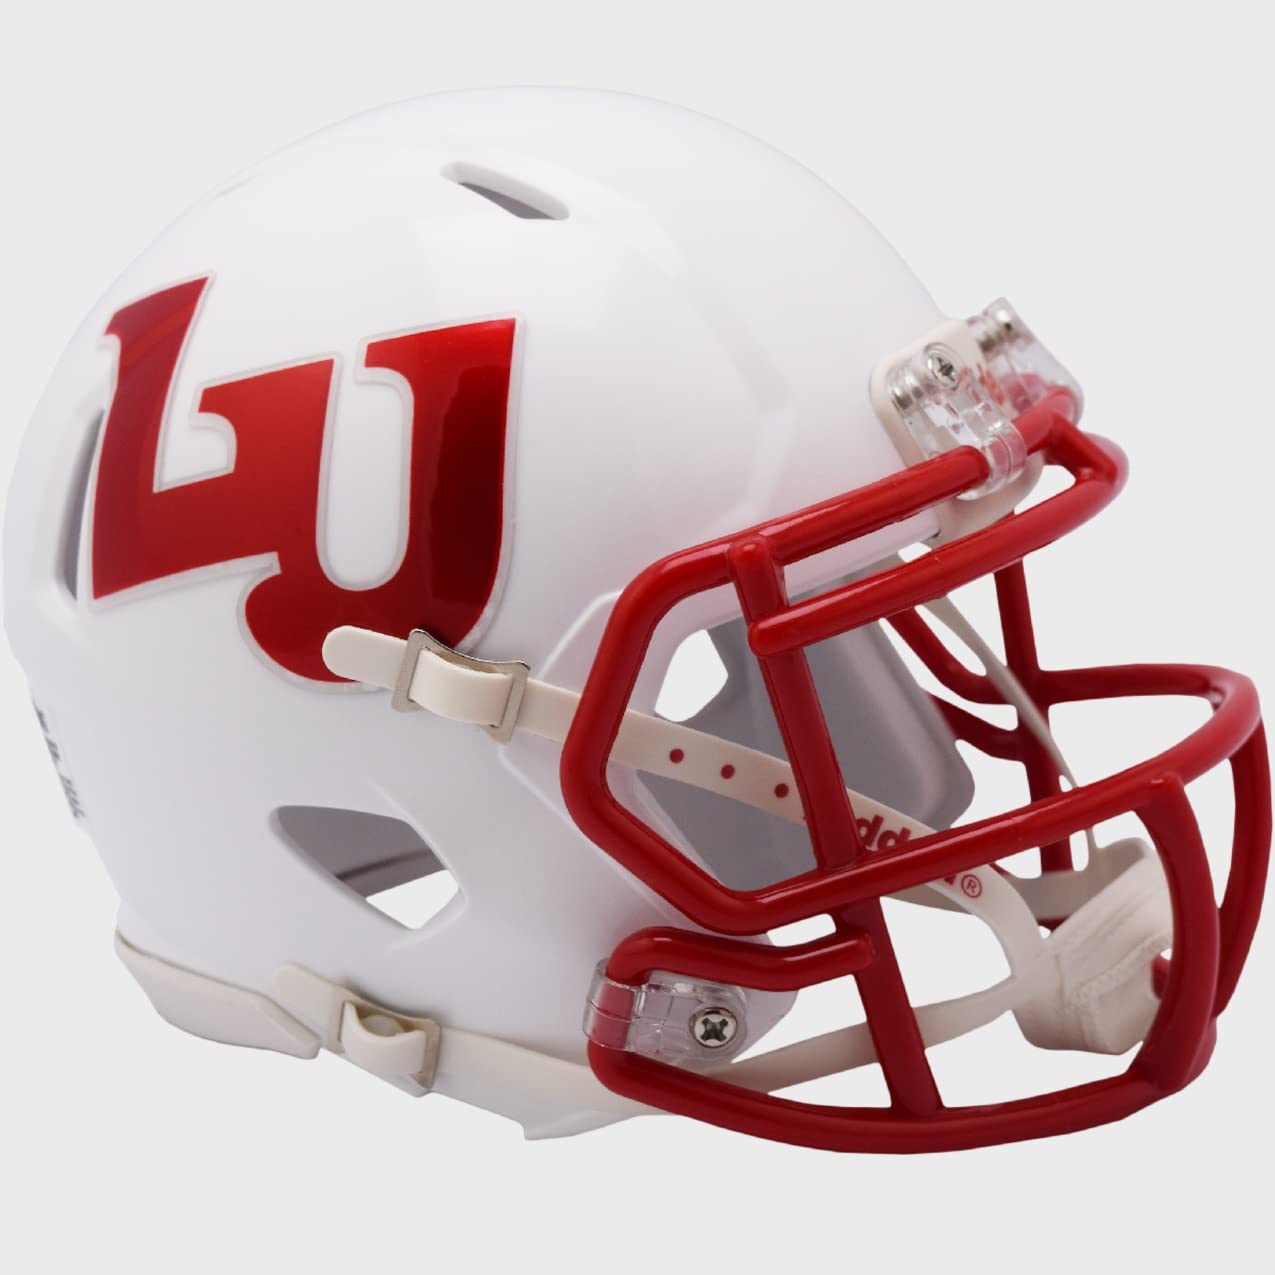
Once the base coat was totally dry (I waited a full day, just to be sure), it was time for the fun part – the Liberty details. This is where it got tricky.
- First try, I made the design by hand. The result is not good.
- I find some stickers online, and put it on the helmet.
Putting it all together
- After I finished the design.I put the facemask on.
- Check all screws are tightened.
It’s not perfect, but it’s mine, and I learned a ton in the process. Now, I’ve got a helmet that looks pretty darn close to what I was aiming for. Might even try another one, experimenting with different techniques. It’s kind of addicting!


