Alright, so I finally bit the bullet and got that arm canelo tattoo I was yapping about for ages. Here’s how it all went down.
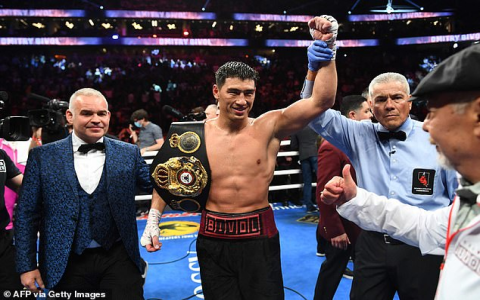
The Idea: It all started with just admiring Canelo Alvarez, the boxer. The guy’s a legend. I wanted something that wasn’t just a portrait – too cliché, you know? So, I was brainstorming, and then it hit me: his signature gloves. Simple, iconic, and a nod to his grit.
Finding the Right Artist: This was crucial. I didn’t want some scratcher messing up my arm. I did some digging online, checked out local tattoo shops’ portfolios on Instagram, and finally landed on this artist named Maria. Her line work was clean, and she seemed to nail shading. Plus, she had a good vibe when I messaged her.
The Consultation: Met up with Maria. Showed her some reference pics of Canelo’s gloves, explained my vision, and we talked about size and placement on my forearm. She sketched out a rough draft right there, and it looked solid. Booked the appointment for two weeks out – time to mentally prepare!
Tattoo Day – The Pain Game: Okay, day arrived. I was a little nervous, I ain’t gonna lie. Got to the shop, Maria had the stencil ready. She cleaned the area, slapped the stencil on, and boom – reality hit. The buzzing started. The outline was surprisingly chill, but the shading? Man, that was something else. Especially near the elbow…oooof. Took a few breaks, chatted with Maria to distract myself. She’s a cool person.
The Process, Step-by-Step:
- Prep: Shaved the area, cleaned it with antiseptic. Standard stuff.
- Stencil: Maria expertly applied the stencil. Made sure it was perfectly aligned.
- Outline: Started with the outline using a smaller needle. This wasn’t too bad. A little sting, but nothing crazy.
- Shading: This is where the real work began. She switched to a larger needle for shading, and the pain definitely ramped up. The shading gave the gloves their depth and form.
- Details: Added some finer details like the stitching on the gloves. This required a steady hand and a lot of focus from Maria.
- Clean Up: Wiped away the excess ink, cleaned the area again, and applied a bandage.
The Reveal: After what felt like forever (it was actually about 4 hours), Maria finished. Peeling back the bandage… Damn! It looked even better than I imagined. The lines were crisp, the shading was perfect, and it just… popped. I was stoked!
Aftercare – The Boring But Important Part: Listened carefully to Maria’s aftercare instructions. Wash it gently with antibacterial soap, pat it dry, apply a thin layer of ointment (Aquaphor, she recommended), and keep it covered for the first few days. No sun, no swimming, no picking! Gotta keep it clean and moisturized to prevent infection and fading.
Two Weeks Later: It’s healed up nicely. Still applying lotion regularly. The colors are vibrant, and the line work is holding up great. I’m super happy with how it turned out. Worth the pain and the money. Every time I look at it, I’m reminded of Canelo’s dedication. Now I just need to maintain it with proper aftercare and maybe get it touched up in a few years to keep it looking fresh.
Final Thoughts: Getting a tattoo is a commitment. Do your research, find a good artist, and follow the aftercare instructions religiously. But if you do it right, it’s totally worth it. I’m already thinking about my next one…


